If you have and iPhone or iPad you have the option for Live Photos, they are like mini movies in that when you take a photo it has captured a bit before and a bit after. They can look really cool. And now you can turn them into a sticker so that you can use it in a message or email. It is fun and can make it more engaging.
I’ve been using them but then I decided I wanted something specific. I wanted to have me lifted a camera to take a photo. So what I did, with my live photo feature switched on, I got my wife to take a photo of me doing this. The key thing here was that she took the photo as soon as I got it up to my eye. Perfect, she got it just right.
In the video below I show you how you can do this too.
Animated GIFs are made from a video so is it possible to convert it to a video. Well yes it is. But just remember GIFs are not always high quality and often the video is not smooth. Converting to a video will not help. However, you will be able to add into a video or edit it. You could even grab a still frame using what ever video editor you use.
I use Adobe Express to do this but there are other options. Adobe Express is free and you have to sign up, unless of course you already have an Adobe ID.
In the video below I go through the steps on how to do this,
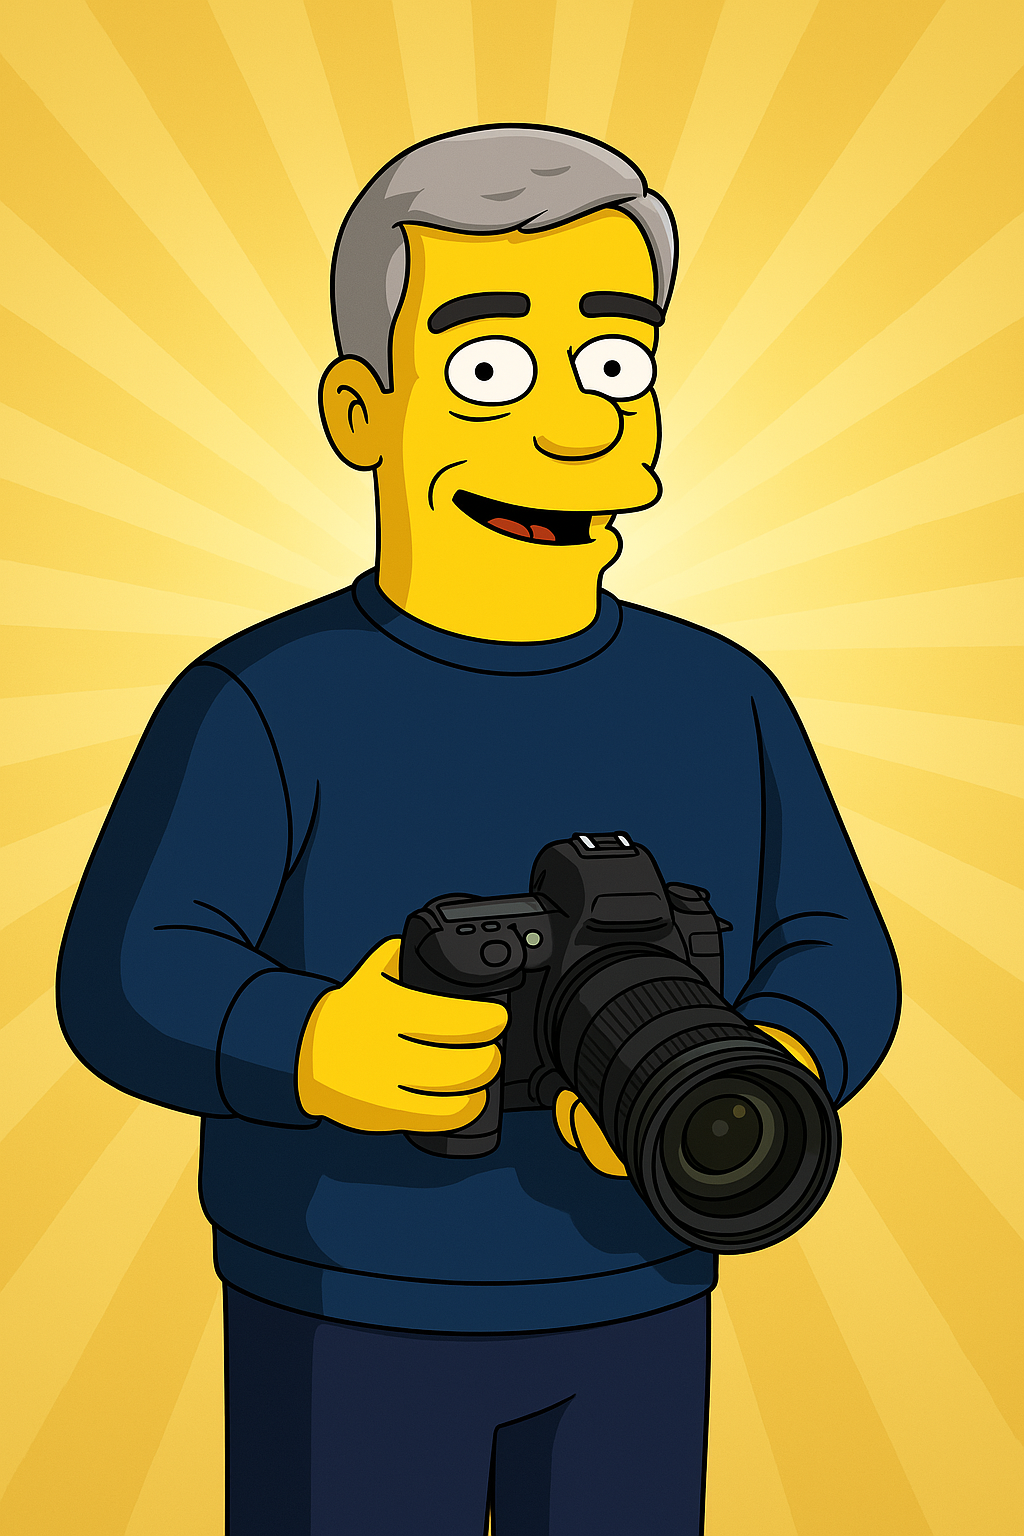
You’ve probably seen the action figures on social media that look like the person with some accessories added, like the one of me below. You can create one too using ChatGPT. Now a lot seems focused on the action figure, because let’s face it, they look like they could be real items. But I also chose to try out turning me into a Peanuts character with Snoopy and Woodstock, I then tried a Simpsons character.. I’ve included them below as well.
So all you need a is a photo of yourself and ChatGPT. ChatGPT is free but there is a paid for version. With the free version you have a limit as to how many images you can create. I downloaded ChatGPT to my iPhone from the App Store, but you could get this for Android as well. You can use it on your computer too, just go to this website and you can download the desktop version, https://openai.com/index/chatgpt/
Now to create the action figure you need some specific text, which you can modify. I’ve pasted it below, the video on this page. You need to remove the square brackets and the text between them and replace with the text it mentions in the square brackets.
When I tried this it took 3 minutes 15 seconds to create the image. This can vary so be patient. Also don’t close the app or let your device go into standby.
Here is the video showing you how to do it.
Use this photo of me to create an action figure of myself in a blister pack, in the style like a premium collectible toy. The figure should be standing up and have a relaxed, friendly smile. The blister pack should have a header with the text ‘[ACTION FIGURE NAME]’ in large letters and a subheading of ‘[SUBHEADING]’ below it. Include accessories in compartments to the side of the figure: [LIST OF ACCESSORIES].
So many of us use Instagram and we can get wrapped up in watching reel after reel, but even if you only watch one you might might find that the text or captions obscure something on the video. It might be some text or an item. Well not to worry you can watch it without the text.
We use Face ID, Touch ID or a passcode to get into our iPhones and iPads but what if there are specific apps we also want to protect. It could be that you are sharing your device, perhaps to share some photos or video and we don’t want prying eyes to say, look at out calendar.
In iOS 18 and iPadOS 18 you can assign that extra security to individual apps by choosing to require Face ID or require Touch ID.
Of course some apps already need this such as those that have sensitive data such as your bank account.
Here a video I made to show you how to add this to your apps.
If you use autofill on your iPhone or iPad then you might know you could find them in settings, so when you login to a website or some apps it will save your username and password. Then when you go back to the site it can fill it in automatically, a good time saver and you also don’t have to remember your passwords. Now before iOS18 and iPadOS 18 you could find your passwords in setting, now there is an app called Passwords.
Not only does it store your passwords but also your wifi passwords that you use. This could be useful if you have a visitor and want to share your wifi with them.
In case you are wondering, the passwords are encrypted and you do need Face ID, Touch ID or passcode to get into the app. The passwords are also not visible until you tap on them, this helps them from falling into the wrong hands and from prying eyes.
Somehow I have lots of duplicate photos on my iPhone and iPad in the Photos app and someone had asked me how to clear their duplicates and thought I had better do it myself.
The great thing is that it is a feature built right in to the Photos app.
Here I’ll show you how to do it on your iPhone but works in the same way on your iPad.
I would say test this out before removing the duplicates of lots of photos. I’ve had no problem but just a little caution. In case you are wondering the duplicates do go to the deleted album for 30 days unless you choose to delete them sooner.
What exactly is HDR? You might have heard it mentioned as a feature on your smartphone or as something built-in to your mirrorless of stills camera.
Well it stands for high dynamic range. But what is dynamic range and why does it need to be high? Dynamic range in photographic terms is the difference between the light and dark areas of a picture. In real life our eyes can see the detail in a dark area and bright area, assuming it is not too dark or too bright. However, cameras and smartphones are not that good at differentiating between these areas, so sometimes you can’t see the areas in the darks parts of the photo or the bright areas might be blown out and can’t see anything there.
So how do smartphones and cameras get around this. Well they take more than one photo at different exposures and then join them together. It is usually three photos but can be more or even just two.
This increases the dynamic range, the difference between the light and dark areas so it is called high dynamic range.
One photo is normal exposure where the dark and light areas are hard to see.
Another is overexposed so the dark areas are now more visible showing the detail.
Then one more underexposed getting the details in the bright areas such as the sky, now allowing you to see the details in the clouds.
The camera or smartphone merges them into one image.
In a smartphone you might not know this has happened. In your camera you switch it on. In my camera and I’m sure many others it saves all three images as well as creates the merged version. However, I find that if I take those three images and put them into Lightroom I can get even better results.
If you have a smartphone and like taking photographs then you have probably used the panorama feature, but can you do the same with your mirrorless camera or DSLR. Yes, you can.
But you are also asking yourself why would you do that if you can do it with your smartphone. Well, although smartphones do take good photos, and I do use mine a lot, a mirrorless or DSLR is going to do a better job and much higher resolution. So if you want to print it out this might be the way to go.
You can also use it to zoom right in and then stitch a who bunch of photos together giving you a very high resolution image.
I use Lightroom to do this and in the video below I show you how.
I’ve done this not only to create a landscape panorama but also a vertical one. Great for getting tall buildings.
I was recently creating an animation, I wanted to show how a cine camera’s shutter works. I wanted to show a semi-circle rotating, that is how it works. I started cutting out cardboard and sticking things together and then realised this will be easier in PowerPoint.
What I needed to do was make a semi-circle rotate using the spin animation.
Now there are some useful setting that can be changed to determine how quickly it will spin and to make it start and stop smoothly. Of course there are some other settings too and in this video below I show you how to do that by make three cogs spin together.